Friday, January 23, 2015

Super Tall Cowl

I love a cowl. Simple, functional, and stylish - what more could you need out of an accessory? From a crochet standpoint the cowl is the perfect project. You can go simple or elaborate, colorful or understated and you can use an enormous array of yarns, stitches, patterns, and sizes.

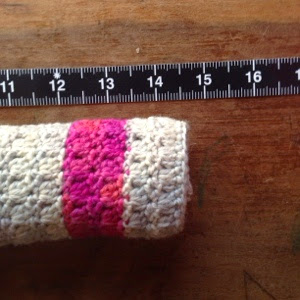
My personal go-to cowl is made using the primrose stitch and Knit Picks stroll tonal

I've made many, many of these so far and plan to make many, many more. 

This one was inspired by Valentine's Day. 


I love my cowl super tall. I just think an exaggerated cowl really adds pizzazz and style. 


Monday, January 5, 2015

Flowers for Jacinta

Ever notice that kids are relentlessly needy? For example within one hour this morning my 3 year old has needed an waffle, butter, syrup, juice, her hair up, TV on with me sitting next to her, hand lotion and lots of it, 3 band aids, her "ball, ball, ball," and a washcloth for her feet. Now she is rearranging the furniture because she needs to do a puzzle. Notice I don't make a distinction between wants and needs. That is because kids don't make that distinction and everything is a need. 

But in all honesty I'm grateful for this need, because when a child is dead they don't need a thing anymore. Morbid but true, and for some reason I really feel this absence of need.  

So as I grieve I tend to manufacture needs.  For example I perform random acts of kindness in Jacinta's name in January, I buy her an ornament each and every Christmas, and I always quietly say "bye baby" as we pass the cemetery on the way off our property.  And, just like any other girl, she periodically needs flowers. 

Jacinta needs these things, because far as I'm concerned, all children need tending to and mothers need to tend to all their kids. 

This year I have decided on two things I need to do for Jacinta.  The first is to make tons of flowers in her name, just because I love flowers and I think it would bring me joy to have lots and lots of them. 

Perhaps I'll make a some crazy ass garland or a wall hanging. I'm not sure yet, I just know I'll make flowers for Jacinta in the month of January. 

The second involves yarnbombing! But more of that in a separate post.

OK, now on to the flowers I've done so far.

1. The Maybelle Flower  This is one of the most popular flower patterns out there, probably because it is large, flat and perfect for a wide range of projects.  Annette at My Rose Valley has done some beautiful things with these babies.


2. Large Simple Flower - This one comes from a book I've had for quite some time but have not really used, 200 Crochet Flowers by Claire Crompton. This flower ends up not being very large but it is simple and very sweet.


3. Mini flower: These are just wonderful. With one small round they are quick so you can make lots and lots of them. These are made out of fingering weight wool but for an even teeny tinier version you could use thread.


4. 5 Petal Curved Edge Flower: This pattern is simple but has  neat curved edges which gives it a little extra pizzazz. 


5. Crochet Flower: This one could use a better name but it is a sweet pattern for a double layer flower.

Stay tuned for more flowers for Jacinta to come. 

Friday, December 12, 2014

Let it snow, let it snow, let it snow crochet snowflakes

I've been obsessed with making snowflakes.  It all started innocently enough, I decided to make some for a festive garland I am putting together for a craft swap. Initially I intended to make about 6, but it just wasn't going to be that easy. The more I make the more I want to make. 

BE WARNED: Snowflakes are crochet crack and you may find yourself neglecting all your other responsibilities while furiously making these little guys. Proceed with caution.

I've decided to give my self over to the snowflake for a while - or until my family organizes an intervention. I feel compelled to indulge these craft obsessions when I am fortunate enough to be afflicted by them.

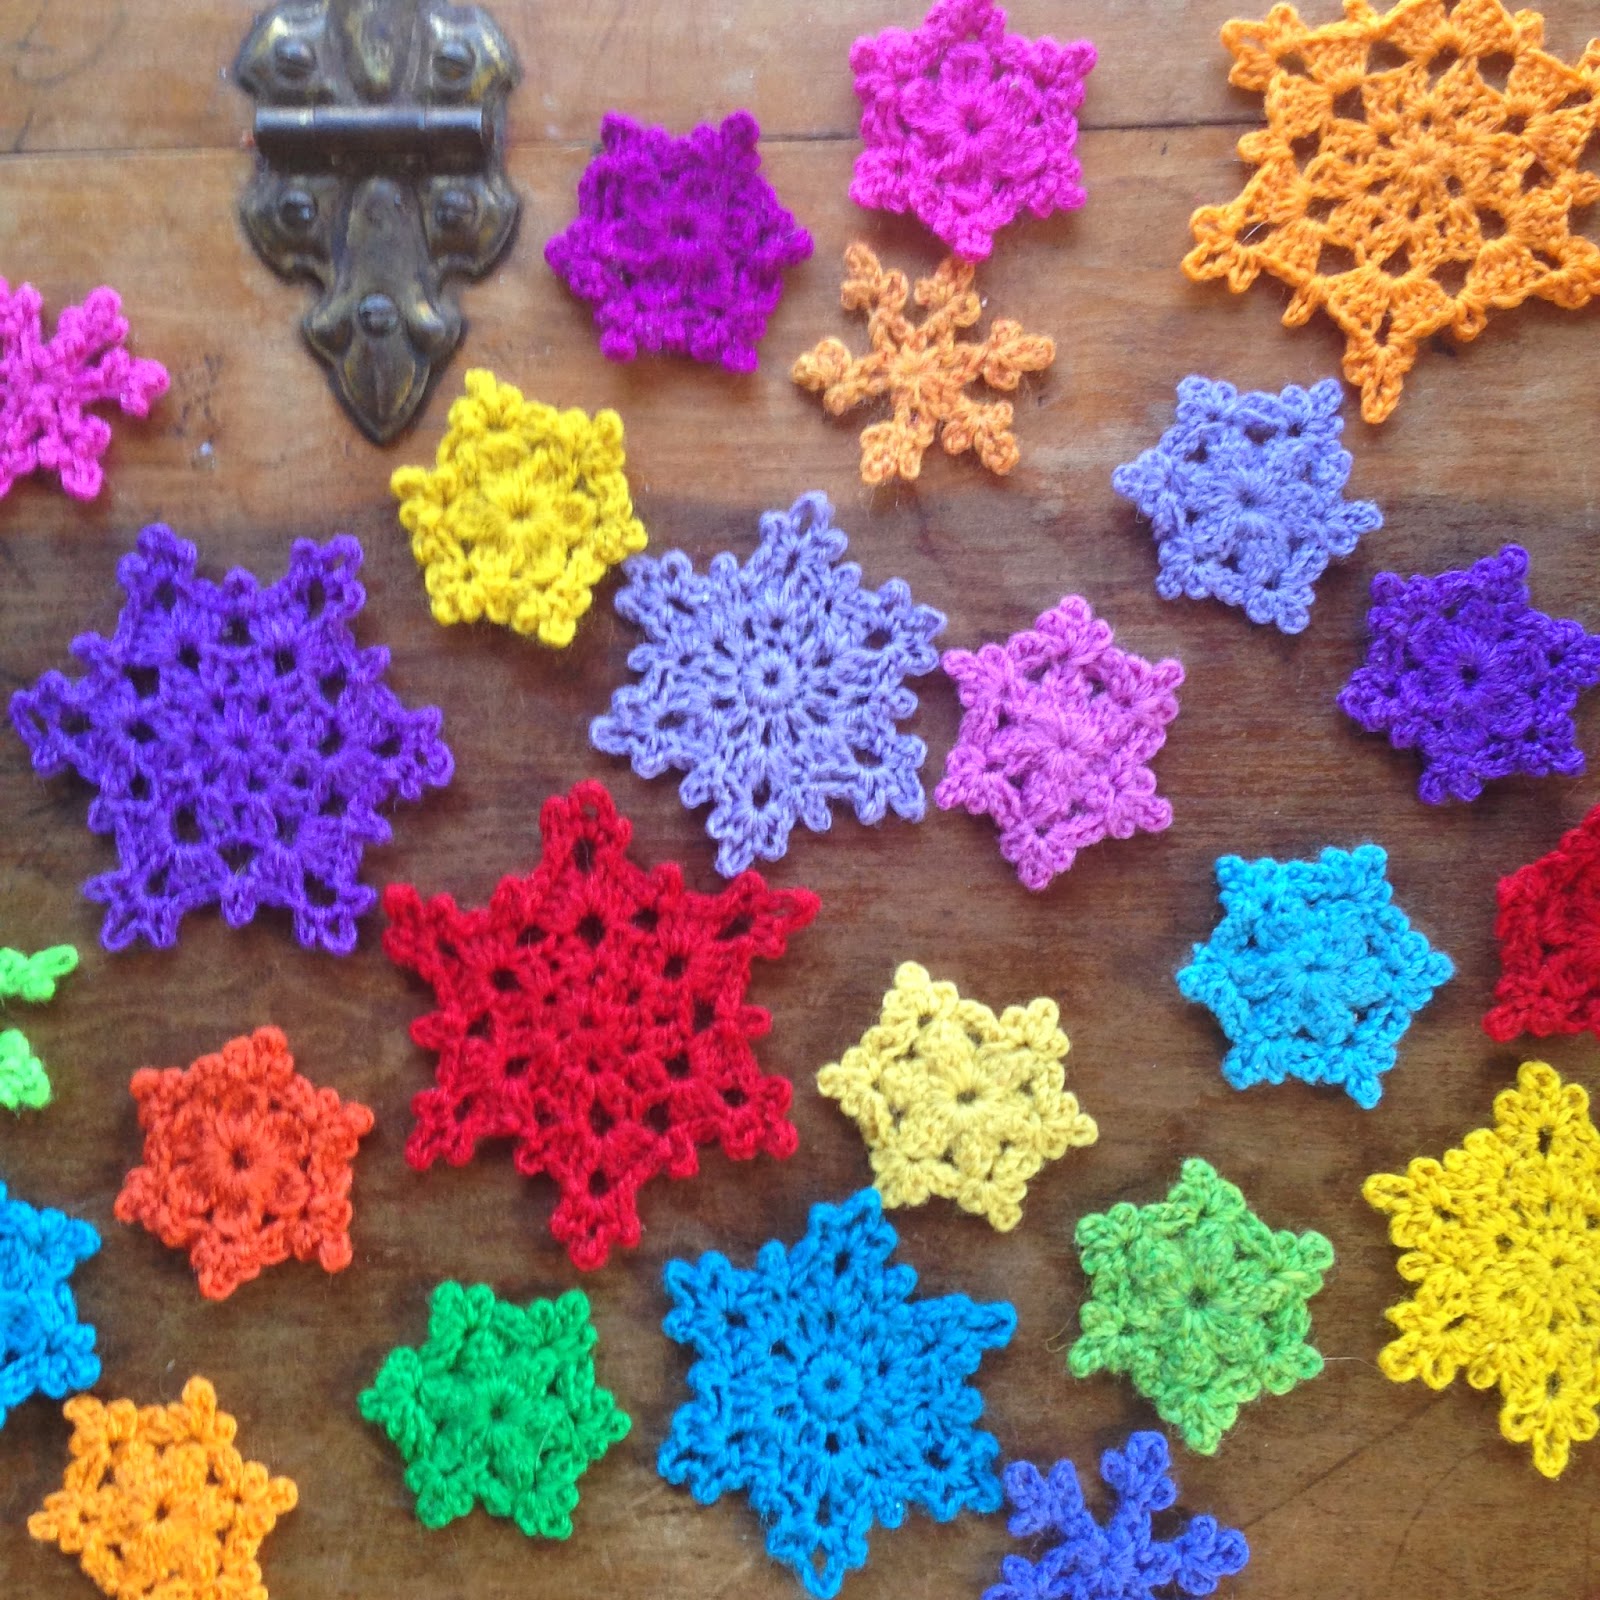
I mean, look at these things.  Swoon


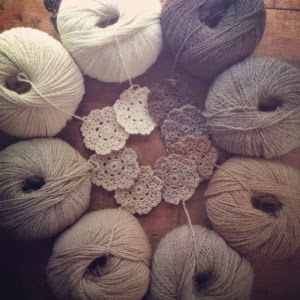
I love them in rustic brown.  These are how I imagine Caroline Ingalls' snowflakes may have looked on the prairie. 


But then again how dope would a rainbow snowstorm be.


There are a tremendous amount of snowflake patterns but the absolute best resources is the Snowcatcher Snowflake Directory. Your welcome. This site is a gift indeed.

I tried many, many snowflakes and began to get overwhelmed (I get overwhelmed easily) so I decided to begin by picking 4 styles and making lots and lots of each one.


I used Knitpicks Palette yarn which is a beautiful fingering weight wool that comes in an amazing array of colors. But you could use cotton crochet thread which is what is traditionally used to make snowflakes. I guess you could also use a larger weight yarn as well. Experiment until you achieve the look you desire. 

The first one I became enamored with is Miki's Crafty Corner: Bold and Beautiful Snowflake. Simple, lovely and fun to make


Then the Red Heart Snowflake ornament stole my heart. Love this sweet little guy.


I developed this one myself while fiddling around trying to make a snowflake that resembled some cupcake sprinkles I have. 


Turns out there are lots and lots of patterns  like this out there, so I'm not quite the genius I thought I was, but this is how I made mine. 

Ch 6 and join
Round 1: Chain 6, ss in 4th chain from hook (one picot made); ch 5, ss into same ss as last picot; ch 3 ss in same ss again; ch 2 sc in ring (6 times). 


The last one I made in bulk was one inspired by this lovely photo I found on pinterest which unfortunately did not include a pattern for this specific snowflake. After spending a ridiculous amount of time searching for one I decided to wing it and I love the results.


This is how I made mine. 

Special stitches:
Beginning 4tr cluster:  Ch3, *YO twice, insert hook YO and pull through (YOand pull through 2 loops) twice, *repeat *to* twice more, YO pull through all 4 loops on hook

4tr cluster:  *YO twice, insert hook YO and pull through (YOand pull through 2 loops) twice,*  repeat *to* three more times, YO pull through all 5 loops on hook

Ch 6, join 
Round 1: Beginning 4tr cluster, ch 4; (4tr cluster, ch 4) 5 times; join with ss into top of beginning 4tr cluster.


Round 2: *Ch 3, ss into top of same 4tr cluster; ch 5, ss into top of same 4tr cluster, ch 3, ss into top of same 4tr cluster; ch 4, ss into next 4tr cluster;* repeat from *to* around ending with a slip stitch into first ss.


Thank you for stopping by Wooly Ana's for a visit!


Thursday, October 9, 2014

Soap Pouch

I made this little wooly soap pouch by using the C2C pattern to make a square and then folding like an envelop and joining.  I think it came out pretty sweet if I say so myself. I even treated myself to some locally handmade soap to break her in. 


Tuesday, September 16, 2014

Jacinta Flower Hot Water Bottle Cover

Our little house in the big woods is sweet as hell and I love her to bits but she is also old, drafty and uninsulated. Also, propane is expensive, so needless to say, we like to find alternative ways of staying warm. Cuddling, layers, and drinking tea only helps so much so we rely heavily on hot water bottles here. 

This year I have decided to make a unique water bottle cover for each member of the family. I'm starting with myself, not because I am selfish or anything but because I need to make a test one.

This isn't really a tutorial, it's more of a brief description of what I did. 

I started with these beautiful brown Jacinta Flowers


Then I made them into squares.


I used Knit Picks palette yarn which is a fingering weight 100% wool with a B hook.


Here is where you will need to test your squares on the hot water bottle you are using. I have many and they are slightly different sizes. 

Once all your squares are made you can start attaching them. I used a classic join, the single crochet in the back loop only. Simple and neat.


I then crocheted a hdc border around each side, making it big enough to cover the entire hot water bottle. 


I ended up having to make an uneven border to get it to fit, but I'm perfecting it. Crafting is a process.


Then you can join each side. Again, I used the back loop only single crochet.


I left a gap on the bottom to accommodate little hang thingie on the bottom of some hot water bottles.


I continued to crochet the top and ended with a scalloped edge.


I finished off by attaching a cord and a couple of pom poms.  


I'm ready for the cold weather.